Showing posts with label projects. Show all posts

Monday, February 13, 2012

Valentine Party Picture "booth"

Hello.  
Busy weekend here but I wanted to share an idea I had while lying in bed one morning.
I am one of the room moms for our oldest son and we were going to 
have stations for the 1st grade party.
I needed another station.

Then a light bulb went off and I remembered the Lawn Fawn facebook pictures from CHA.
They made large cut outs of many of their stamps including their Polaroid stamp 
and took pictures of themselves with visitors.  

AHA!  
I decided to make one myself and use it as a photo booth at the party.  
They can have their picture made with just themselves or with a friend.  
I'll print them out later and send them back to school with my son.


20x30 foam board from Michael's Crafts $1.50
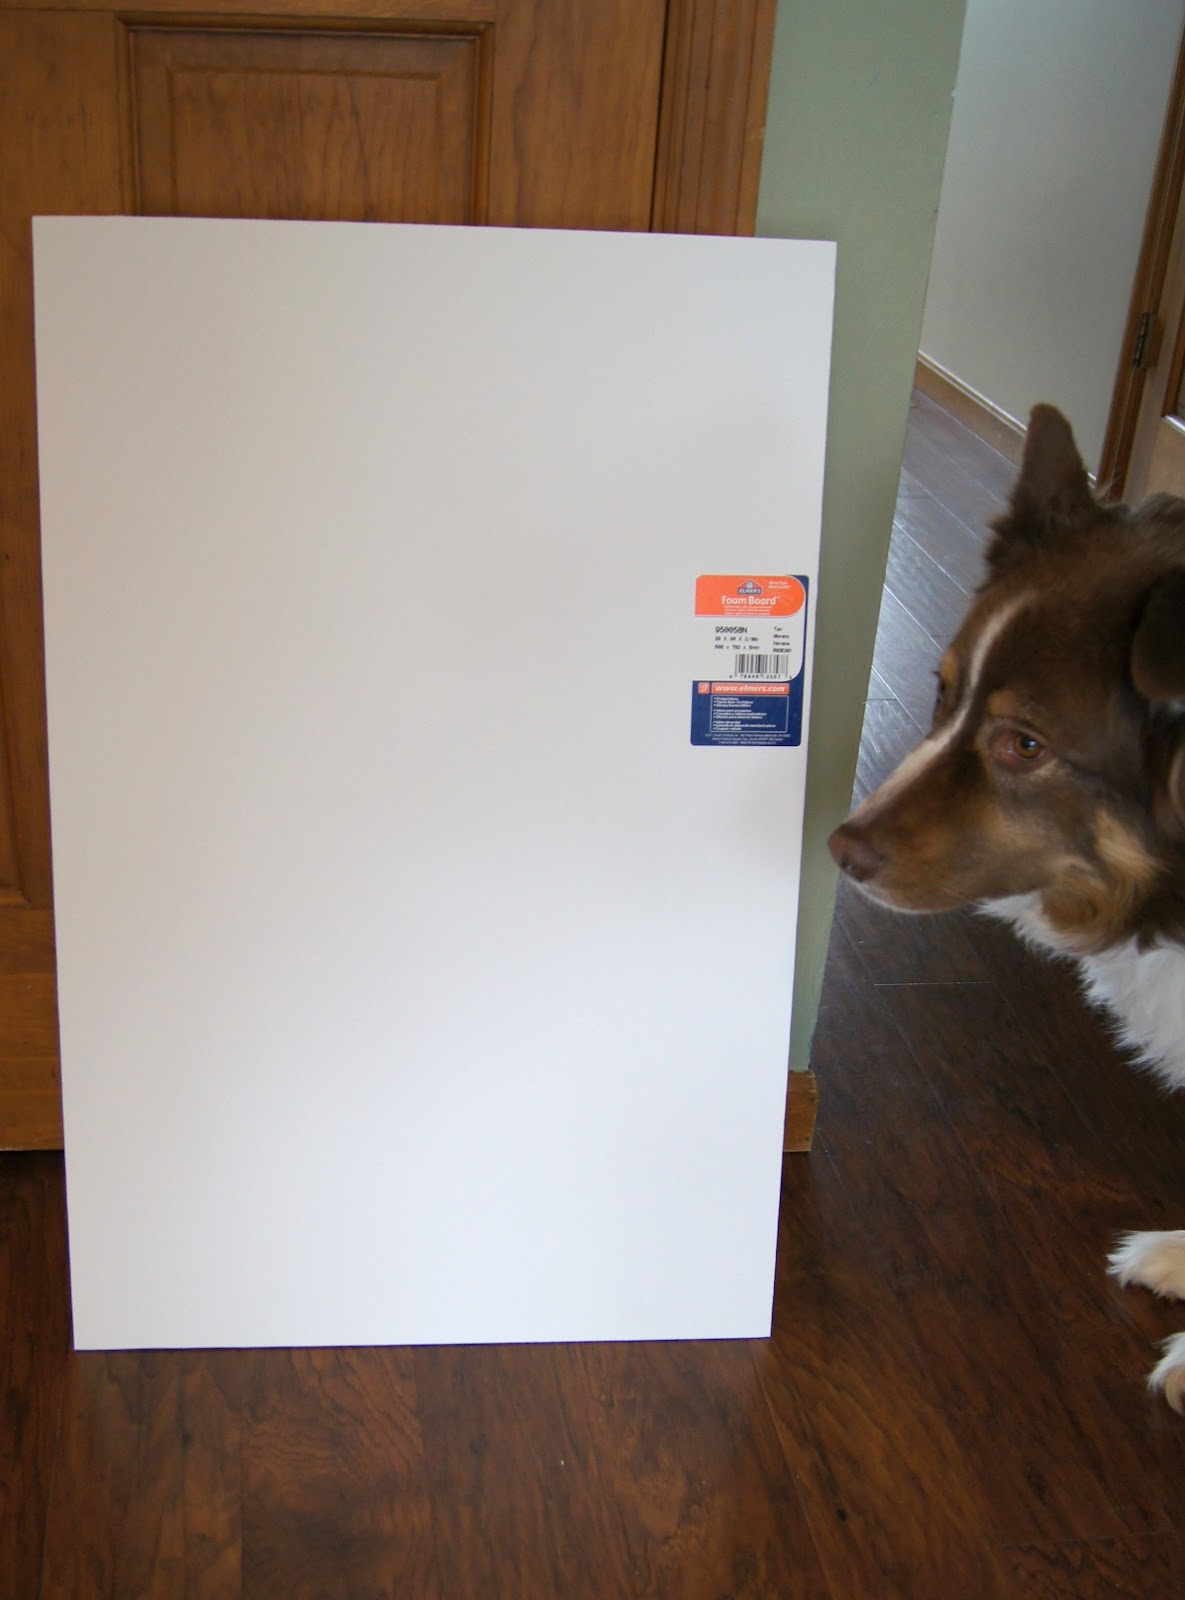

Draw and cut out the frame with a nice sharp box cutter.  
My sides are 2 inches wide.

I painted mine grey with Acrylic Paint (.59).  This DID warp the board a bit.


Decorate with stickers, die cute shapes and gems. 

My adorable (trust me) anonymous model:


Stations for our Valentine Party:
- Picture "booth"
-Tattoo  station
- Pin the arrow on the cupid
- Toss the ping pong balls into the cups/get it the red cup = prize
- Guess the number of candies in the bag (closest guess wins the treats)
- "Paint" your cookie edible craft
-Whole group story and Bingo


Supplies:
Idea: Lawn Fawn inspired
Papers: Echo Park "Be Mine"
Other: foam board, box cutter, glue, acrylic paint

I am entering this into Simon Says Stamp: Love is in the Air challenge

I think the kids will have fun with this. 
The other mom is making a crown for them to wear in the picture.

The back can be decorated for a different theme or for a birthday party if you don't allow overhang like I did.  I let things hang off a bit since the board warped. 
Next time, I may cover with paper and ATG adhesive to prevent warping.
Thanks for looking,
Kelly

Thursday, December 1, 2011

SSS: Advent Calendar

Can you believe it is December already?
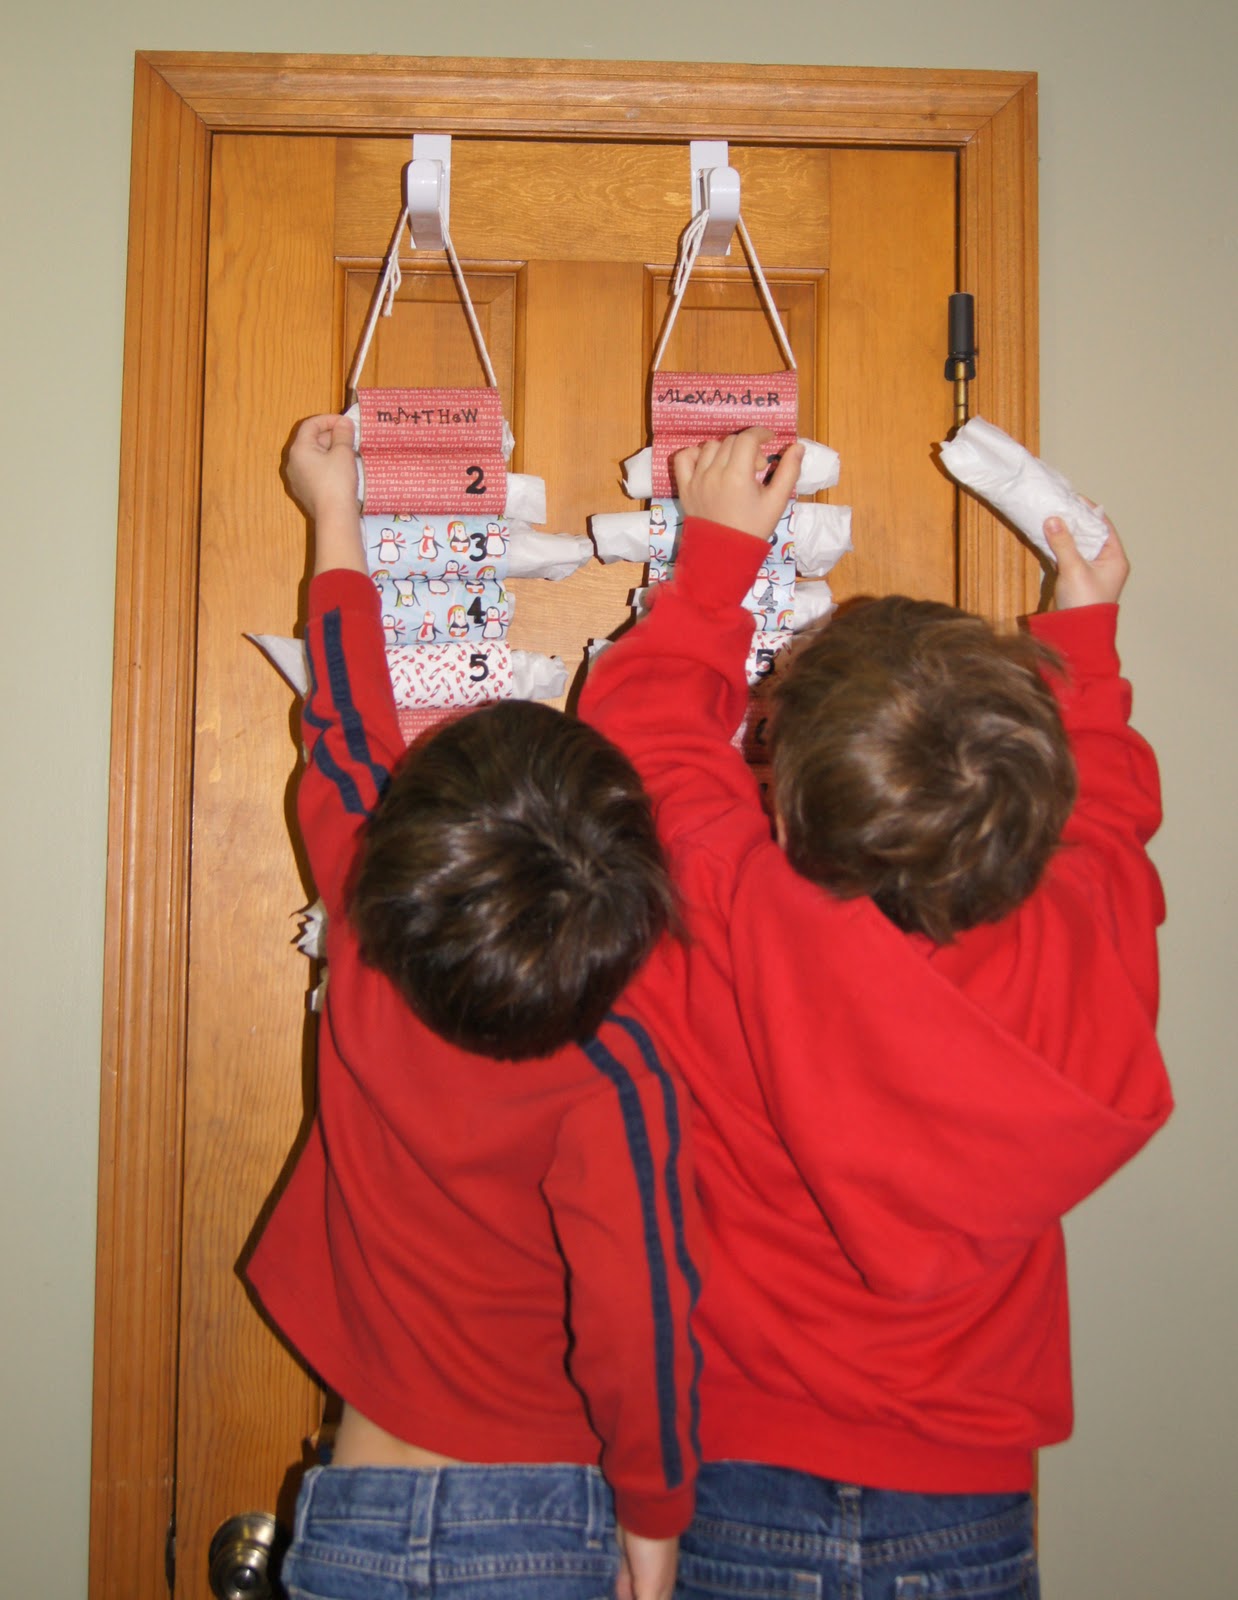
Sharing my Advent Calendar today.

Made it out of toilet paper rolls and paper from Hobby Lobby racks.
Cut the numbers on the Cricut and then sealed them on with Mod Podge.


Items include: candies, puzzle piece (new puzzle), chapstick, dollars, certificate for a Hotwheel of their choice, certificate for a book, Squinkie, Lego person, etc.
I still have a few spots to fill.


They were so excited this morning! 


I am submitting this project into the Simon Says Stamp: Anything Goes Challenge.


Thanks for looking!
 ~Kelly

Thursday, June 30, 2011

WM60: Hotwheel Party

Today I am sharing some project I made up for our son's 4th birthday.
Similar to the invites, I cut out the cars from Valentines and used
mod podge to decorate small notebooks from Big Lots. 
I thought they'd get a kick out of having their names on them too.


Here are the little bags that each child received.
I inked one of his cars and ran it across the bag a few times.
The names are made with paint and some Making Memories
foam stamps from a "few" yrs back...hee hee
They contained the notebook and a hotwheel:


Here's the cake.  Black sugar crystals for the main road.  Road edge is brown sugar. 
Grass tip #233.  Candy rocks.  The name logo and "4" are made out of candy melts. 


Thank You cards made with Lawn Fawn's "Say Cheese" set. 
Cars were cut out from HL paper and stickle-ized


I am sharing this project for the Wee Memories Challenge #60: Party Time!
This challenge is sponsored by Eat Cake Graphics

Thanks for looking!
~Kelly

Wednesday, June 29, 2011

Pandamania!

A few weeks ago our church held VBS week.  The theme was PandaMania! 
I used my Create a Critter cartridge on my Cricut to make
panda bears to decorate the wall of my room. 
The "trees" are cut out of paper from the rack at Michaels and the
leaves were cut out of construction paper. 

I used green yarn as vines for the pandas to swing and play through the "trees".


Just wanted to share...
Thanks for stopping by!
~Kelly

Thursday, June 2, 2011

Decorated Bag

Hi there.  Here's the second bag I have been working on. 
This one is for Alex's kindergarten teacher. 


What's inside: insulated cup with first initial, sunscreen, tissues, single drink mixes, SPF lip gloss


Here's the matching card I posted previously.  Details for that one HERE.


Supplies for bag:
Stamps:  Lawn fawn's "Fly Free", "Cruising Through Life", "Critters in the Burbs"
Ink: Memento
Other: Prismacolor Pencils, Stickles, gems, AC button, Glossy Accents, Liquid Pearls

Thanks for looking!
~Kelly

Tuesday, May 31, 2011

It's cool for now...

but in a few years, my sweet boy will NOT want me to decorate his bag... hee hee
He loved the green and orange butterfly (his favorite colors).
This is for his picnic day tomorrow with the other kindergarten class...
only a few days left and he's a first grader... wow... how time flies.. sniff...sniff


Maybe It will be cool to have little notes from mommy in his lunch next year...

Supplies:
Stamps:  Lawn Fawn's Critters in the Burbs
Ink: memento and Distress Peeled Paint
Coloring: Prismacolor pencils and mineral spirits
Complete Dork:  Momma


I have been visiting all my favorites blogs, but have been having a heck of a time commenting... I keep getting sent back to the log in screen,  ugh..
I hear that other people are getting fuzzy pictures too.  This one is fine on the computer but fuzzy on blogger.. grrrr... I hope this all gets cleared up soon..
Lots of great projects out there in blogland!!  Thanks for visiting and I AM visiting you~Kelly

Wednesday, March 30, 2011

Hotwheel Birthday Invites

Zzoooooooooooooooooom!
hi there. 
Sharing a few projects for our youngest son's 4th birthday party.
When he said he wanted a Hotwheel party I thought it'd be great to find Valentines to cut up... then not only did we find them but they were clearanced to .19 for the box!  score!
I cut the cars out and added the flag-like papers.
The flames were stamped, cut out and glittered.


Super Easy.
Thanks for looking!
~Kelly

Wednesday, December 15, 2010

Treat Bags

Sharing some treat bags I made last year for DH's coworkers. 

I believe the paper is by My Minds Eye stack. 
It's long gone so I am not sure of the name. 
Got it at Hobby Lobby.

They were inspired by THIS post by Jennifer McGuire. 
She has a video with the instructions!


 Making buckeyes for this year's bags. 
The bags are completely different.  They are ready, just need the treats. 
I'll share them soon! They are VERY cute!
Thanks for looking!  -Kelly

Saturday, October 30, 2010

Treat Bags for Church

Hi There.  Thought I'd share some the little bags I made for my preschool class at church.  They were very quick to make. I just dug through my drawer of scraps for the papers and ribbons.  Yarn is a real cheap way to close to top too.  I found the poem online, copied it, and then highlighted certain words.  I threw in a few pumpkin candies to go with the theme. 


Submitted to:
Cupcake Craft Challenge #114:   Sweet Treats with a Twist
Off the Wall Craftiness Challenge #31: black, white and orange colors

Supplies:
Stamp:  Stampin' Up
Inks:  Memento Black, Distress Spiced Marmalade
Other:  papers, ribbons, Stickles, lunch sacks, zip-lock bags, candy

Thanks for stopping by today!  May you smile many times today!  -Kelly

Wednesday, October 20, 2010

EEK....Spiders!!!!

Hey there.  I am sharing something different today. 
The boys and I made these cute little spiders for decorations. 

We used:
Styrofoam balls
black acrylic paint
glitter paint
pipe cleaners
google eyes
string
hot glue gun
paint brushes
newspaper/table cover


We painted the balls black.  It required two thick coats with lots of drying time.  Then we painted them with the glitter paint.  We wanted festive and cute spiders.  I cut the pipe cleaners in half and carefully jammed them into the balls and then bent the legs a little.  The google eyes were attached using the hot glue as well as the string on the top. 

So many ways to alter these cute little guys.  You could use colored google eyes, brightly colored pipe cleaners for legs or even go for an all black spider with no glitter and a smaller, beady kind of google eye. 

We have a few hanging in a doorway and a couple in a cotton web. 
This project is being submitted to Live.Teach.Create Halloween Challenge.
Thanks for looking.  -Kelly